react-redux 설치하기
리액트에서 리덕스를 사용하기 위해,
npm install redux react-redux
npm으로 redux 라이브러리와, 리액트에서 redux 사용을 쉽게 해주는 react-redux 라이브러리를 설치합니다.
redux store 폴더 만들기
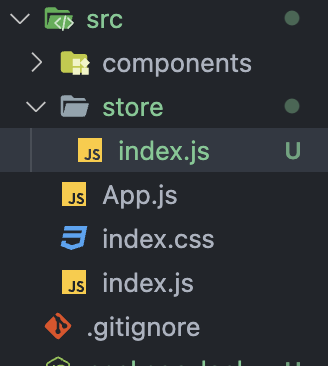
리덕스 저장소와 리듀서 함수들을 담을 store 폴더를 만듭니다.
redux store 파일 만들기
import { createStore } from "redux";

const counterReducer = (state = { counter : 1 }, action) => {
  if (action.type === 'increment') {
    return {
      counter: state.counter + 1,
    }
  }

  if (action.type === 'decrement') {
    return {
      counter: state.counter - 1,
    }
  }

  return state;
}

const store = createStore(counterReducer);

export default store;
*위 코드는 현재 redux에서 deprecated된 'createStore'라는 함수를 사용하고 있습니다. 리덕스에 대한 기초적인 설명을 위해 임시로 작성된 코드이므로, 리덕스의 구성에 대한 기초적인 이해만 하고 넘어갑시다.
작동순서
1. createStore()라는 함수를 redux 라이브러리에서 불러옵니다.
2. createStore()에 reducer 함수를 인수로 전달하고, store 상수에 저장합니다.
3. reducer 함수는 state, action 이라는 두 개의 인수를 받습니다.
- reducer 함수의 state 인수 : 리덕스 스토어 안에 저장된 기존 state 값입니다. 여기에 '=' 연산자를 사용해서 state의 기본값을 지정해줄 수 있습니다.
- reducer 함수의 action 인수 : 리듀서 함수가 어떤 액션을 취할지에 대해 알려줍니다.
5. 이 저장소가 다른 컴포넌트에서 사용될 수 있도록 store 상수를 export합니다.
루트파일에서 리덕스 저장소 연결하기
위에서 만든 리덕스 저장소가 실제 리액트 컴포넌트에서 어떻게 사용할 수 있는지 알아봅시다.
우선, 리덕스 저장소와 리액트 앱 전체를 연결해서, 언제든지 컴포넌트에서 리덕스 저장소를 구독할 수 있는 환경을 조성해야 합니다.
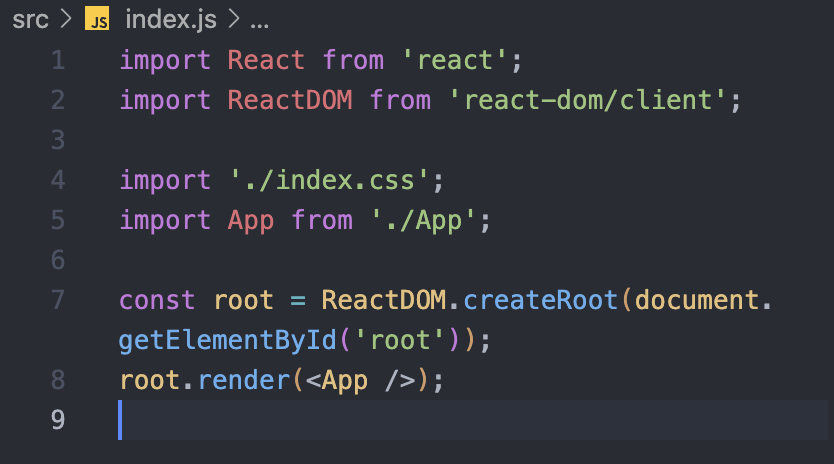
리액트 앱의 root파일인 index.js로 갑니다.
import { Provider } from "react-redux";
import store from "./store";
여기에 react-redux 라이브러리의 Provider 컴포넌트와, 아까 만든 store/index.js의 store 상수를 import 합니다.
const root = ReactDOM.createRoot(document.getElementById("root"));
root.render(
  <Provider store={store}>
    <App />
  </Provider>
);
Provider 컴포넌트의 store prop으로, 아까 import 해 온 store 상수를 전달합니다.
그리고 Provider 컴포넌트로 App 컴포넌트를 감쌉니다.
당장 바뀌는 것은 없지만, 위 작업을 통해서, App 컴포넌트를 비롯한 모든 하위 컴포넌트들은 리덕스 저장소에 접근할 수 있게 됩니다. 이제 각 컴포넌트마다 리덕스 저장소를 구독해서 데이터를 받고, action을 발송할 수 있습니다.
리액트 컴포넌트에서 리덕스 데이터 사용하기
// Counter
import classes from './Counter.module.css';

const Counter = () => {
  const toggleCounterHandler = () => {};

  return (
    <main className={classes.counter}>
      <h1>Redux Counter</h1>
      <div className={classes.value}>-- COUNTER VALUE --</div>
      <button onClick={toggleCounterHandler}>Toggle Counter</button>
    </main>
  );
};

export default Counter;
Counter.js는 counter state의 숫자 값을 출력하고 조정하는 컴포넌트입니다.
실제로 앱을 실행시키면, 위 사진과 같은 모습을 하고 있습니다.
이제 Counter 컴포넌트를 이용해서, 리덕스 내부 저장소에 있는 counter state를 이용해보려고 합니다.
import { useSelector } from "react-redux";우선, Counter.js에서 useSelector hook을 react-redux 라이브러리로부터 불러옵니다.
const counter = useSelector((state) => state.counter);useSelector()는 콜백함수를 인수로 받습니다.
콜백함수는 state 인수를 받는데, 이 state 인수를 통해서 redux 내부 저장소에 있는 state에 접근합니다.
위 코드에서는 counter state만 return 해서, counter 상수에 담아줍니다.
useSelector()를 이용해서 Counter 컴포넌트가 자동으로 리덕스 내부 저장소의 counter state를 구독하게 됐습니다.
만약 Counter 컴포너트가 DOM에서 제거되면 react-redux가 자동으로 구독을 해지해줍니다.
<div className={classes.value}>{counter}</div>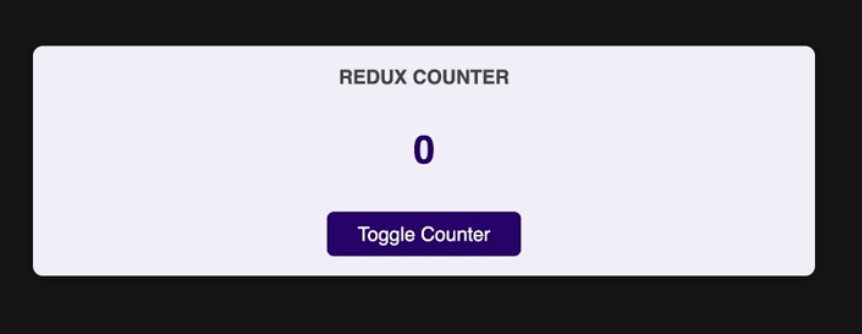
useSelector()로 받아온 값을 DOM에 출력할 수 있습니다.
현재까지 Counter.js의 코드 전문
// Counter.js
import classes from "./Counter.module.css";
import { useSelector } from "react-redux";

const Counter = () => {
  const counter = useSelector((state) => state.counter);
  const toggleCounterHandler = () => {};

  return (
    <main className={classes.counter}>
      <h1>Redux Counter</h1>
      <div className={classes.value}>{counter}</div>
      <button onClick={toggleCounterHandler}>Toggle Counter</button>
    </main>
  );
};

export default Counter;
리액트 컴포넌트에서 리덕스 스토어에 Action을 Dispatch하기

      <div>
        <button>Increment</button>
        <button>Decrement</button>
      </div>
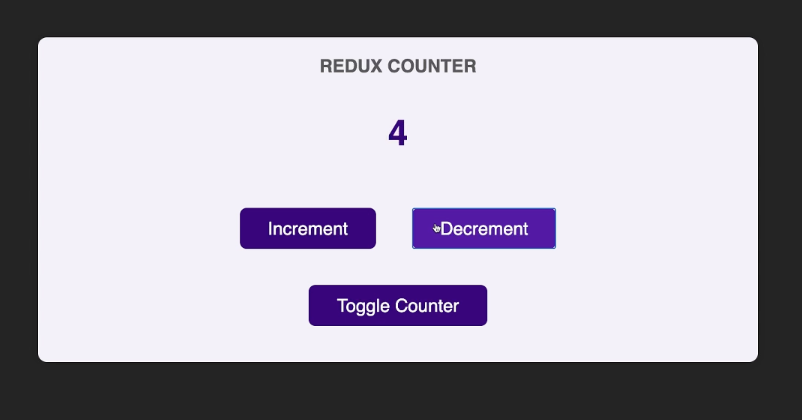
Increment, Decrement 버튼을 추가합니다.
이 버튼을 누르면 counter state가 변화하는 것을 목표로 합니다.
import { useSelector, useDispatch } from "react-redux";Counter.js에 useDispatch() 훅을 import합니다.
const dispatch = useDispatch();dispatch라는 상수를 만든 후, useDispatch()를 저장합니다. useDispatch() 안에 인수를 넣지 않습니다.
  const incrementHandler = () => {
    dispatch({ type: "increment" });
  };
  const decrementHandler = () => {
    dispatch({ type: "decrement" });
  };
그리고 increment, decrement 버튼에 쓰일 핸들러 함수를 만듭니다. 그리고 이 함수들 안에 dispatch() 함수를 넣어줍니다.
dispatch()의 인수로 Action object를 전달합니다.
Action의 type은
// store/index.js
const counterReducer = (state = { counter : 1 }, action) => {
  if (action.type === 'increment') {
    return {
      counter: state.counter + 1,
    }
  }

  if (action.type === 'decrement') {
    return {
      counter: state.counter - 1,
    }
  }

  return state;
}
처음에 만들었던 리덕스 저장소 파일(redux/index.js)의 action.type에 대응되는 유형을 적어주면 됩니다.
        <button onClick={incrementHandler}>Increment</button>
        <button onClick={decrementHandler}>Decrement</button>
그리고 버튼의 onClick prop으로 핸들러 함수를 전달해주면 끝입니다.
Action을 dispatch 할 때 payload를 같이 전달하기
지금까지는 Action 객체에 type property만 전달했지만, 추가로 다른 값도 보내고 싶을 수 있습니다.

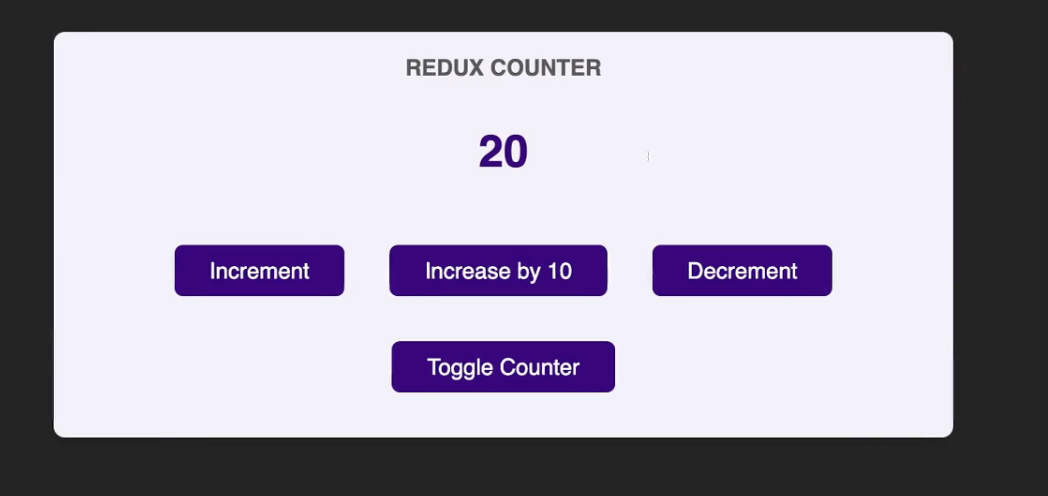
위 사진처럼, counter에 10을 추가하는 버튼을 만들고 싶다고 가정을 합니다.
// src/store/index.js
  if (action.type === "increase") {
    return {
      counter: state.counter + action.amount,
    };
  }
그러면 리덕스 저장소 파일의 reducer 함수에, 위와 같은 조건문을 추가합니다.
action은 type 뿐만 아니라, 개발자가 직접 지정한 properties를 받아올 수 있습니다.
property의 이름은 value, amount 등등 개발자 마음대로 정할 수 있고, 위처럼 action.amount로 값을 연결만 해주면 됩니다.
이제 리액트 컴포넌트인 Counter.js로 다시 이동합니다.
// Counter.js
  const increaseHandler = () => {
    dispatch({ type: 'increase', amount: 10 })
  }
Counter 컴포넌트 함수 내부에 위와 같은 핸들러 함수를 선언합니다.
reducer 함수에서 지정한 property의 이름(ex: amount)으로 값을 전달해주면 됩니다.
그러면 dispatch되는 action 객체에 자동으로 값이 포함되어서 전달됩니다.
<button onClick={increaseHandler}>Increase by 10</button>그리고 Counter.js의 JSX코드에 increase 버튼을 추가합니다.
리덕스 State 주의사항
const counterReducer = (state = initialState, action) => {
  if (action.type === "increment") {
    // state.counter++; <-- Redux로 작업할 때는 절때 원본 state 객체를 수정해서는 안 된다. 버그 발생 및 프로그램 디버깅에 어려움이 발생한다. UI 더 이상 업데이트가 되지 않을 수도 있다. 그러므로 항상 새로운 객체를 반환해주자.

    return {
      counter: state.counter + 1,
      showCounter: state.showCounter,
    };
  }

  return state;
};
위 코드를 보면
state.counter++;이러한 코드가 있습니다. 이건 reducer 함수에서 피해야 할 구문입니다.
Redux로 작업할 때는, 절대로 원본 state 객체를 수정해서는 안 됩니다. 버그 발생 및 프로그램 디버깅에 어려움을 유발합니다.
그러므로 항상 새로운 객체를 반환해줍니다.
다음편에도 이이서 리덕스에 대해 알아보겠습니다.
'JS > React 강의' 카테고리의 다른 글
| [React] 28. 리덕스 툴킷 (Redux-toolkit) 사용하기 (0) | 2024.04.20 |
|---|---|
| [React] 26. 리덕스(Redux) 작동 방식 (0) | 2024.03.19 |
| [React] 25. 리액트 앱의 state에 대한 또 다른 관점 : 리덕스 vs 리액트 컨텍스트 (0) | 2024.03.12 |
| [React] 24. 커스텀 hook으로 useHttp훅 만들어보기 (0) | 2024.02.14 |
| [React] 23. 커스텀 훅(Custom Hook)을 만들어 보자 (0) | 2024.02.07 |


